
Friday, August 16, 2013
Stars, Stars Everywhere
More fun with stars, this time with text. Haven't used text in a while, so re-taught myself the properties.

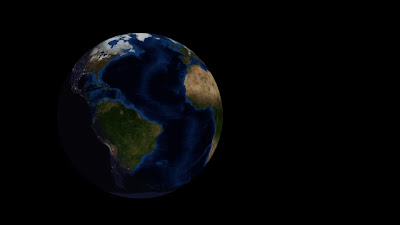
Life in Space
Made this rather quickly using the landscape generator, star generator, the moon from earlier, and a bush/tree I made after scanning through http://www.youtube.com/watch?v=ilwPHV48i3M.


Gun Barrel
Was playing with some addons that come with Blender and found a screw and this is the inside.


Thursday, August 15, 2013


Saturday, August 10, 2013
Crediting
I realize I don't have a signature on my renders, and I'd hate to put a signature on each one, so If you happen to post an image of mine to another site, please credit me accordingly. Thank you.

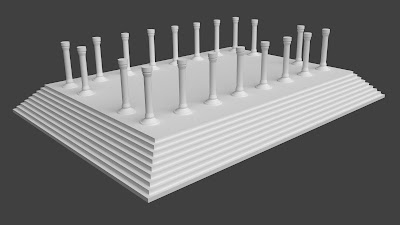
Parthenon
Making a building based off of the Parthenon in Greece. Have steps and pillars already in place, just need to add a roof.

Bolt Add-On
Was playing around with the Blender add-on manager and saw a nut & bolt add-on and thought I'd render out an image.


Stage 7 : Add Night Texture to Dark Part of Earth
Added a night texture to the daker part of the earth using Blender's texture nodes.

Stage 6 : Apply Spec Mask
Applied specularity mask to keep sunlight reflections from coming off of land. Will be more noticeable when I render other parts of the earth.


Stage 5 : Apply Bump Mapping
Applied bump mapping to better show elevations. It will be easier to see when I take renders of different parts of the earth.


Stage 2 : Lighting
Played around with lighting a bit more and changed the world pigment to a solid black.


Stage 1 : Camera angle
Working on making a realistic earth using http://vimeo.com/25078416 as a guide. Here is what I have so far, nothing has been done except for camera and light adjustment.


Friday, August 9, 2013
Shiny Balls
Made this using the metal ball from a previous blend file. There are 50 balls in total. This render has 5000 samples, and is 1920x1080 pixels.


Thursday, August 8, 2013
Table Clutter
Not going for quality here, just practicing importing my previous models into a new scene.


Soccer Ball
This took forever, so repetitious. Just playing around with lights again. Tut video located here http://cgcookie.com/blender/2012/06/27/modeling-soccer-ball-blender/


Rough Sword
Here is a sword I made real quick, idea came from a friend. The rendering took longer than the modeling due to is being a 1366x668 image rendered with 1500 samples. The sword is just a rough outline of what I am planning on making in the future.


Glass Motley
Made this really quick just to play around with different textures and lighting. Reflections look great in Blender as well as 3D text.


Rough Lamp
Made this quick rendering of a lamp, need to figure out how to make the top, middle, and bottom part of the lamp each a different model. This is a 50 sample render, so the quality isn't the best ever. I plan on making a back alley render of some sort, and thought a lamp would be a good place to start.

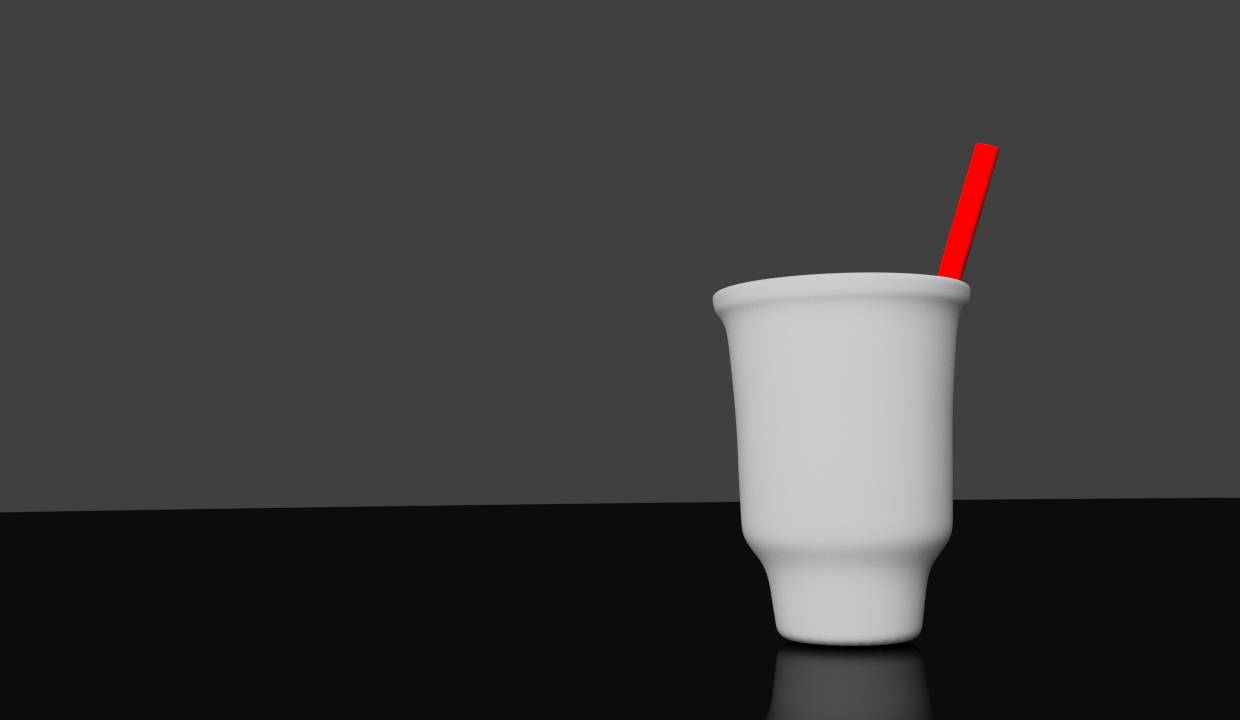
McDonalds Cup
Got bored and decided to model a McDonalds cup that was on my table. Didn't do anything too fancy as it is my first original work. I modeled a lid, but I deleted it or hid it or something so I didn't bother to make another one. I like the simplicity in this render.

Alarm Clock
This is the last of the renderings I made using these videos as a guide. http://www.youtube.com/playlist?list=PLzmyR17f55-LVbgnzhS4Xl9zJ3dSCdYW3. This took the longest to make as well as the longest to render, and I think it turned out well. This is the last model I will work on for the night and It concludes the models I got off of tutor4u's youtube channel. I will search youtube for more models to work on tomorrow night.


Bell Peppers
Followed videos found at http://www.youtube.com/playlist?list=PLzmyR17f55-LVbgnzhS4Xl9zJ3dSCdYW3 to create this rendering. Took the longest amount of time, and was more of a learning experience than anything.


Wednesday, August 7, 2013
Wine Glasses
This took the longest to render out of all the ones I have done so far as it is a full 1366x768 pixel image. Rendered with 500 samples using 2 videos http://www.youtube.com/watch?v=HfCDAIIR2Gc&list=SPzmyR17f55-LVbgnzhS4Xl9zJ3dSCdYW3&index=12 and http://www.youtube.com/watch?v=j3_xn-tpTV0&list=SPzmyR17f55-LVbgnzhS4Xl9zJ3dSCdYW3&index=13.


Blogger 3D
Did this quick rendering using http://www.youtube.com/watch?v=QiJfcZ031AY&list=SPzmyR17f55-LVbgnzhS4Xl9zJ3dSCdYW3&index=11 as a guide.


Ice Blender
Its a little hard to read, but it says Blender. At least now I know what to do to make it easier to read. Video here --> http://www.youtube.com/watch?v=39-CWSn_kms&list=SPzmyR17f55-LVbgnzhS4Xl9zJ3dSCdYW3&index=4


Carved Letters
Just made this with the help of http://www.youtube.com/watch?v=9RcZKlBQ1rw&list=SPzmyR17f55-LVbgnzhS4Xl9zJ3dSCdYW3&index=3.


Small beginnings
Here are my first and second renderings that I created thanks to help from http://www.youtube.com/playlist?list=PLzmyR17f55-LVbgnzhS4Xl9zJ3dSCdYW3.


Captain's log...
I recently decided to try my hand at 3D modeling and found a program called Blender that you can download for free at http://www.blender.org/download. I have already made 2 renderings by watching videos that can be found here http://www.youtube.com/playlist?list=PLzmyR17f55-LVbgnzhS4Xl9zJ3dSCdYW3.
I will post pictures of my renderings, and I hope to be able to make my own models and help others with theirs in the near future.
I will post pictures of my renderings, and I hope to be able to make my own models and help others with theirs in the near future.
Subscribe to:
Posts (Atom)